Surgical Technique Guide for Lisfranc Arthrodesis: Locking Circular PEEK Plate
Jean-Alain Colombier, MD.
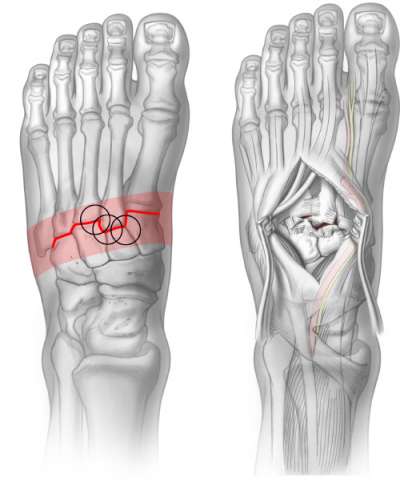
The incision can vary depending on the number and location of bones being fused, as well as the intended placement of the implant.
Under a regional block and with a tourniquet applied a skin incision is made over the joints being fused. Care is taken to avoid and protect the neurovascular bundle and any superficial sensory nerves. The tarsal metatarsal joint is exposed and assessed.
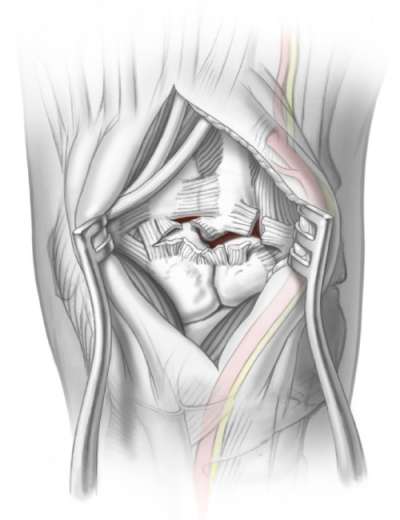
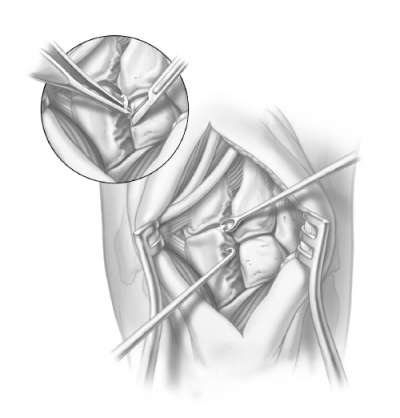
All cartilage and fibrous tissue are resected and the fusion sites are prepared. Meticulous decortication of cartilage must be performed. Use of a scalpel, curette, rongeur, osteotome or high speed burr can facilitate this process.
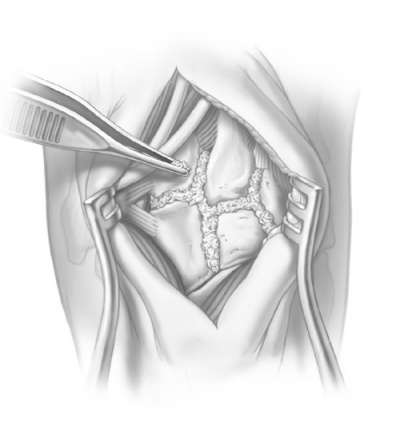
Once the fusion sites are thoroughly prepared, a copious amount of bone graft is packed between the surfaces to be arthrodesed. Autologous iliac crest is preferred or local calcaneal autograft.
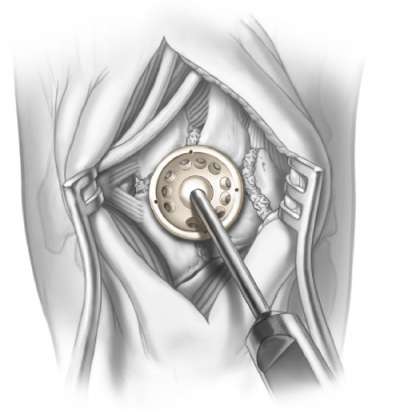
The bones to be fused are aligned and temporarily fixed with a reduction clamp, K-wires or both. Ensure that the temporary fixation is situated beyond the circumference of the reamer and set deeper than the reamer will cut.
Press the desired diameter of implant onto the handle, and visually assess implant size and placement relative to the fusion site.
Select the appropriate reamer and center it over the intended position of the implant. If the reamer nipple rests between two bones, then engage and begin reaming. If it is centered on bone, then to prevent the nipple from walking use an awl or small drill to create a pilot hole.
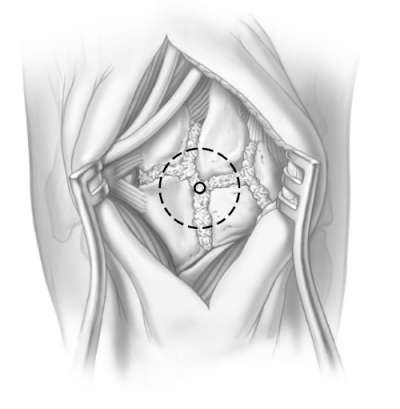
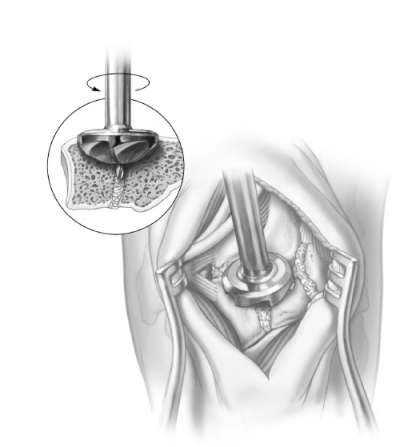
Ream in the orientation and to a depth where the cup will sit flush or just below the surface of the bone. Periodically remove contents from the reamer blades to improve cutting and set aside as additional graft material. At these intervals also check reaming depth and orientation until optimal.
Pack any additional bone graft into the fusion site and compact by running the reamer in reverse. Insert and rotate the cup into a position where the screw holes align with optimal anchor points on each bone. Whenever possible, two screws per bone are preferred. As temporary fixation, insert 0.8mm K-wires into holes on the periphery of the cup. Remove handle and bend K-wires out of the way.
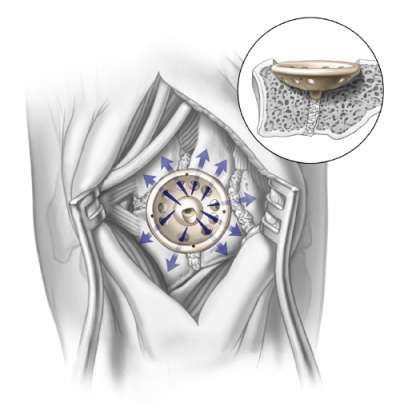
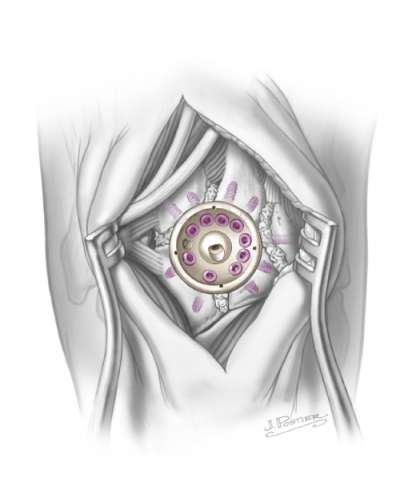
It is possible to drill 10° off center of each hole. Under fluoroscopy the radiolucent implant affords complete visualization to assure ideal screw placement. Drill, measure and insert screws, but do not completely tighten screws until all have been inserted. Alternately tighten screws opposite each other until all screw heads are brought flush with, but not below, the surface of the implant.
Obtain final fluoroscopic images in multiple planes to confirm bone alignment and screw placement. The wound is closed in layers. Patients are placed in a cast for 6-8 weeks.
Disclosure: The author did not receive any outside funding or grants in support of this work. Neither he nor a member of his immediate family received payments or other benefits or a commitment or agreement to provide such benefits from a commercial entity.